
Start an agent and ask it to explain a small piece of code. You’ll finish with an answer you can check against the file.
Before you begin
Section titled “Before you begin”Connect to your Firehose server and have an available agent provider on that machine. A provider is the agent system, such as Claude or Codex, that handles your requests.
The practice project is a tiny repository you create yourself in step 1, called hello-firehose. It holds one file from this site, greeting.mjs, a three-line function that greets a name. Because you know exactly what the file does, you can check whether the agent’s explanation is right. The same project carries on through Make and review a change. It needs Git and Node.js on your computer.
Already have a Git repository on the server? Skip to choosing your workspace. Use the own-project adaptation to choose a small file and a result you can verify. The practice route below also needs Git and Node.js on the server.
1. Prepare a practice project
Section titled “1. Prepare a practice project”In Firehose:
- Select New session, the + button at the top right of the Sessions sidebar. The New agent session dialog opens at Pick a project.
- Below the project list, select New git project.
- Enter
hello-firehosein the name field, which showsnew-project-namewhen empty. If you see Location, choose the parent directory first; with one project directory, Firehose shows where it will create the project instead. - Select Create.
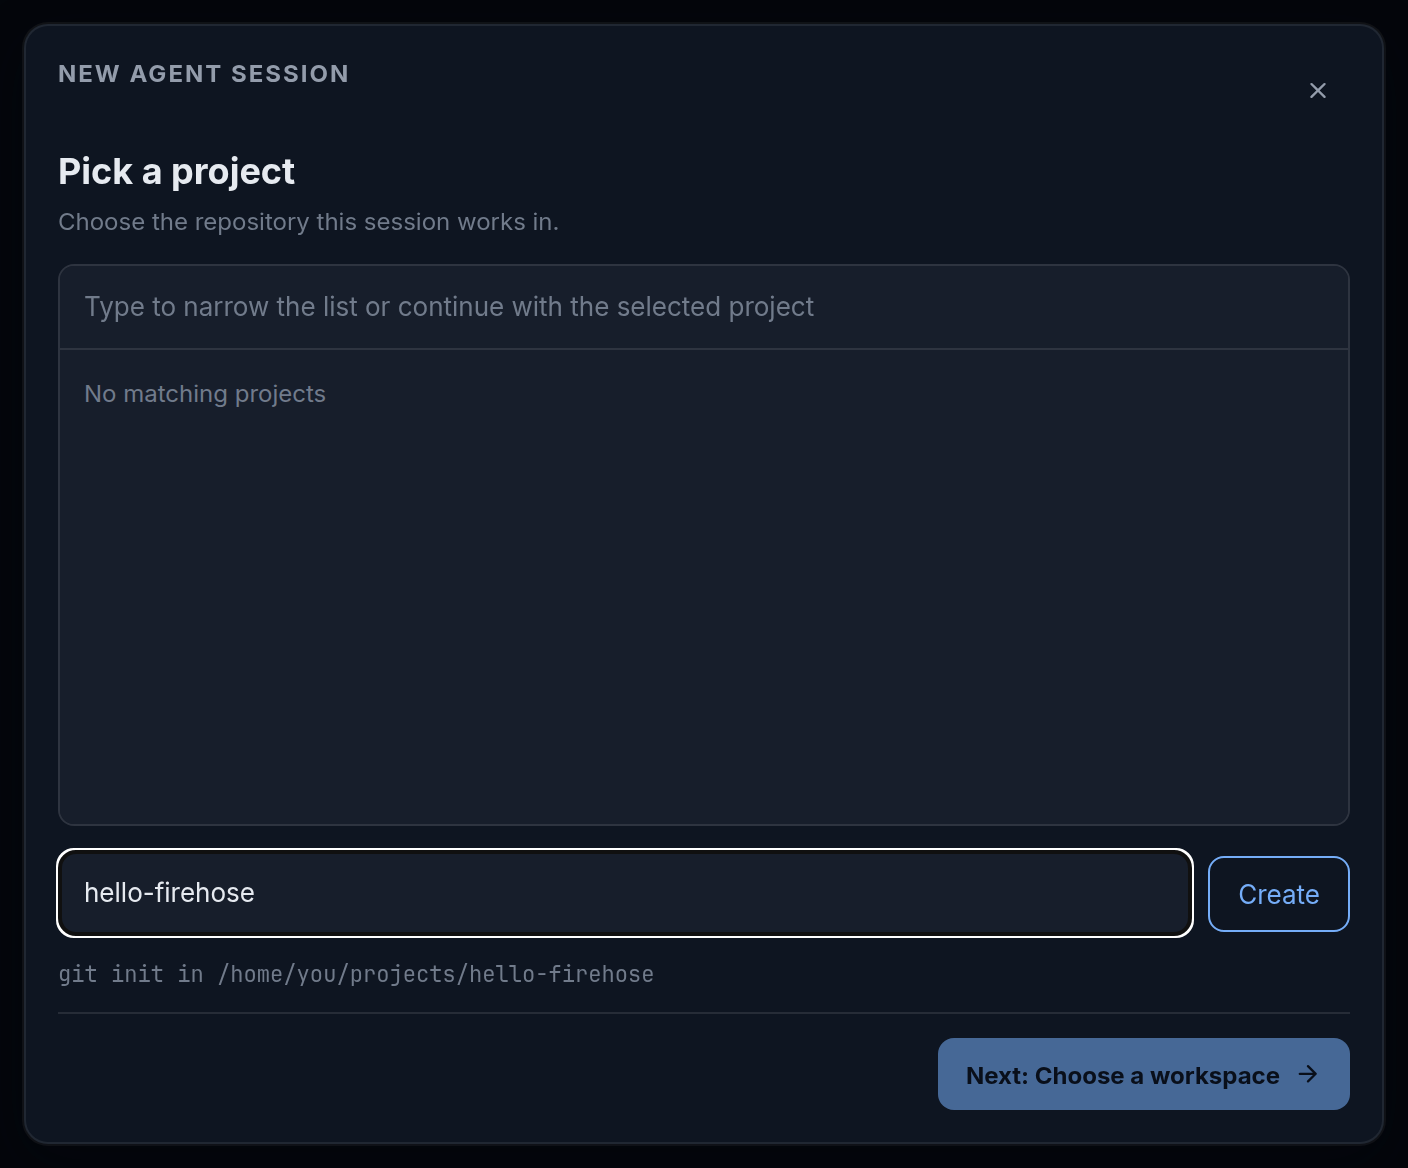
Expected result: Firehose creates a Git repository with a README and attempts an initial commit. You add the example file in step 3, once a session is open.
If Firehose says No project directories configured — add one in Settings first., open Settings (the gear icon at the bottom of the icon rail on the far left). Under Project directories, add your projects directory to the comma-separated list and select Save. These are paths on the server. Preserve existing entries.
If the name already exists, choose that project or use another name. If creation reports no initial commit, configure your usual Git name and email on the server, then commit the README before using branch or worktree workflows.
2. Choose where the agent works
Section titled “2. Choose where the agent works”- Select New session (the + at the top of the Sessions sidebar) and choose your repository at Pick a project.
- Select Next: Choose a workspace.
- Choose Current checkout to use that directory. For a separate task directory, see workspace choices.
- At Choose an agent, choose a provider and an available model.
- Check the permission controls described below, then select Start session.
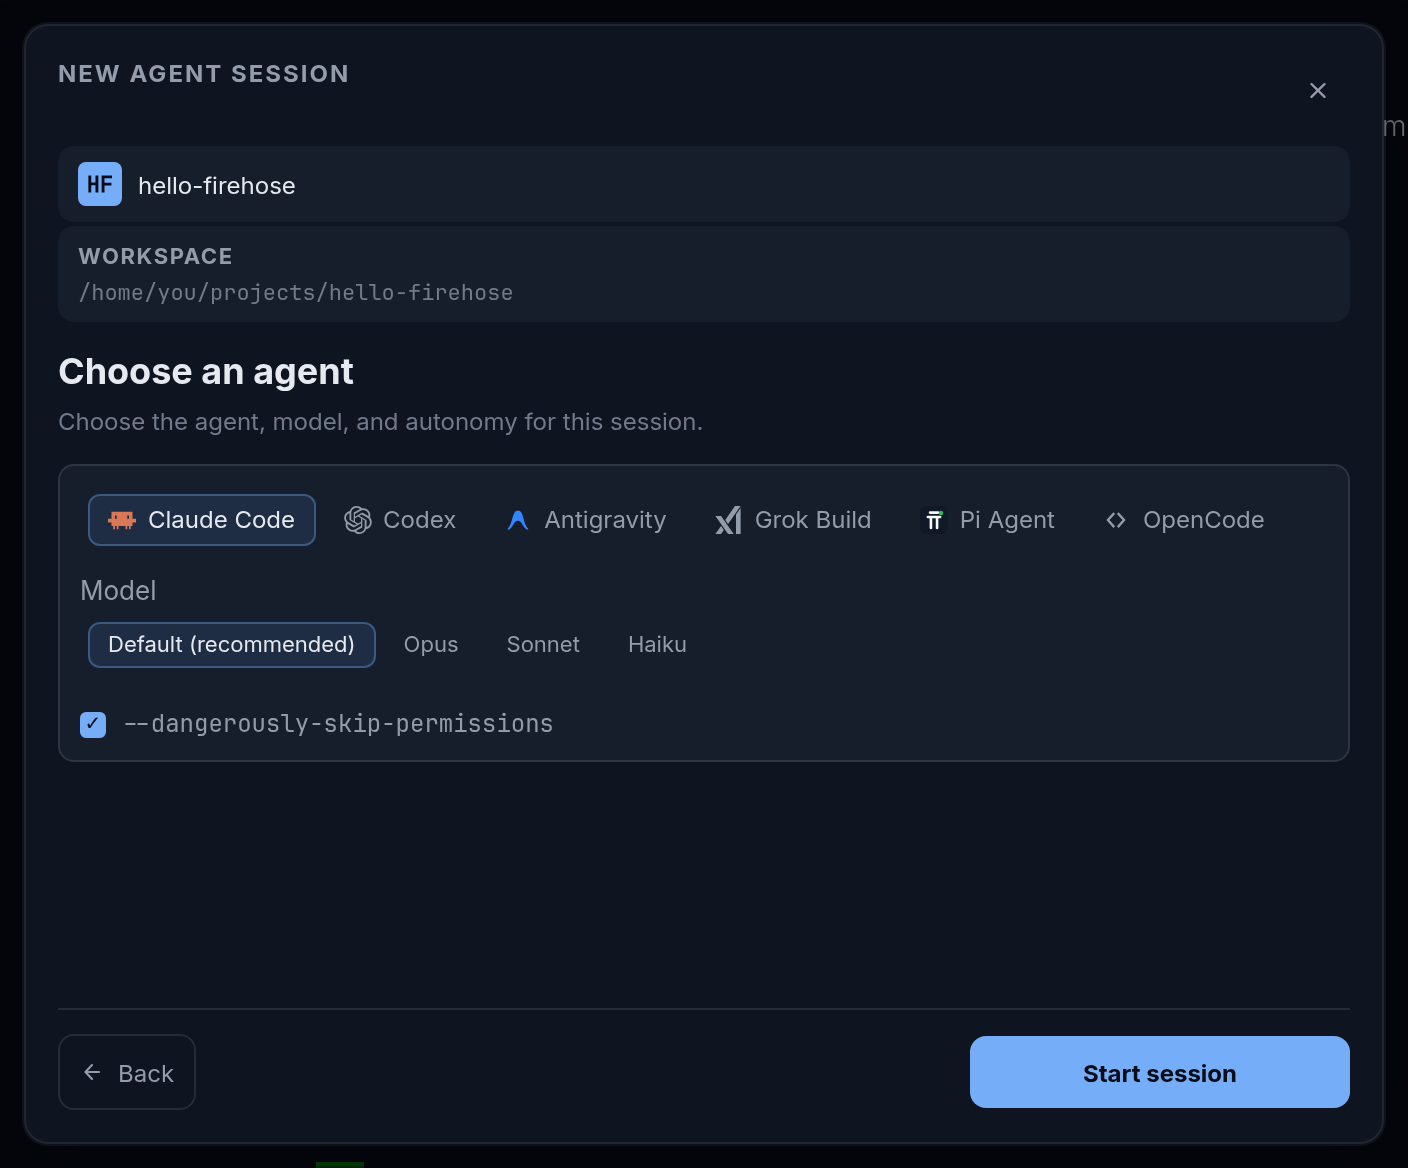
Check what the agent can do
Section titled “Check what the agent can do”The wizard starts with autonomy enabled. For Claude, the checkbox is —dangerously-skip-permissions. For Codex, Full Auto enables actions without approval requests and removes the workspace sandbox restrictions.
Turning Codex’s Full Auto off uses workspace restrictions and the provider’s on-request approval policy. It does not mean every command asks for approval. Claude and other providers have different controls; read agent permissions for the exact distinctions.
A request such as “Do not change files” expresses your task’s constraints; it does not change these permission settings.
Expected result: your session opens in the selected workspace. If the button says Loading models, the choices are still being fetched; continue when model choices appear. If a model is unavailable or launch fails, follow startup troubleshooting.
3. Add the example file
Section titled “3. Add the example file”Skip this step if you are using your own repository.
-
Select the Terminal tab at the top of the session. The first time, read Live shell access and select I understand. The shell opens in the project folder.
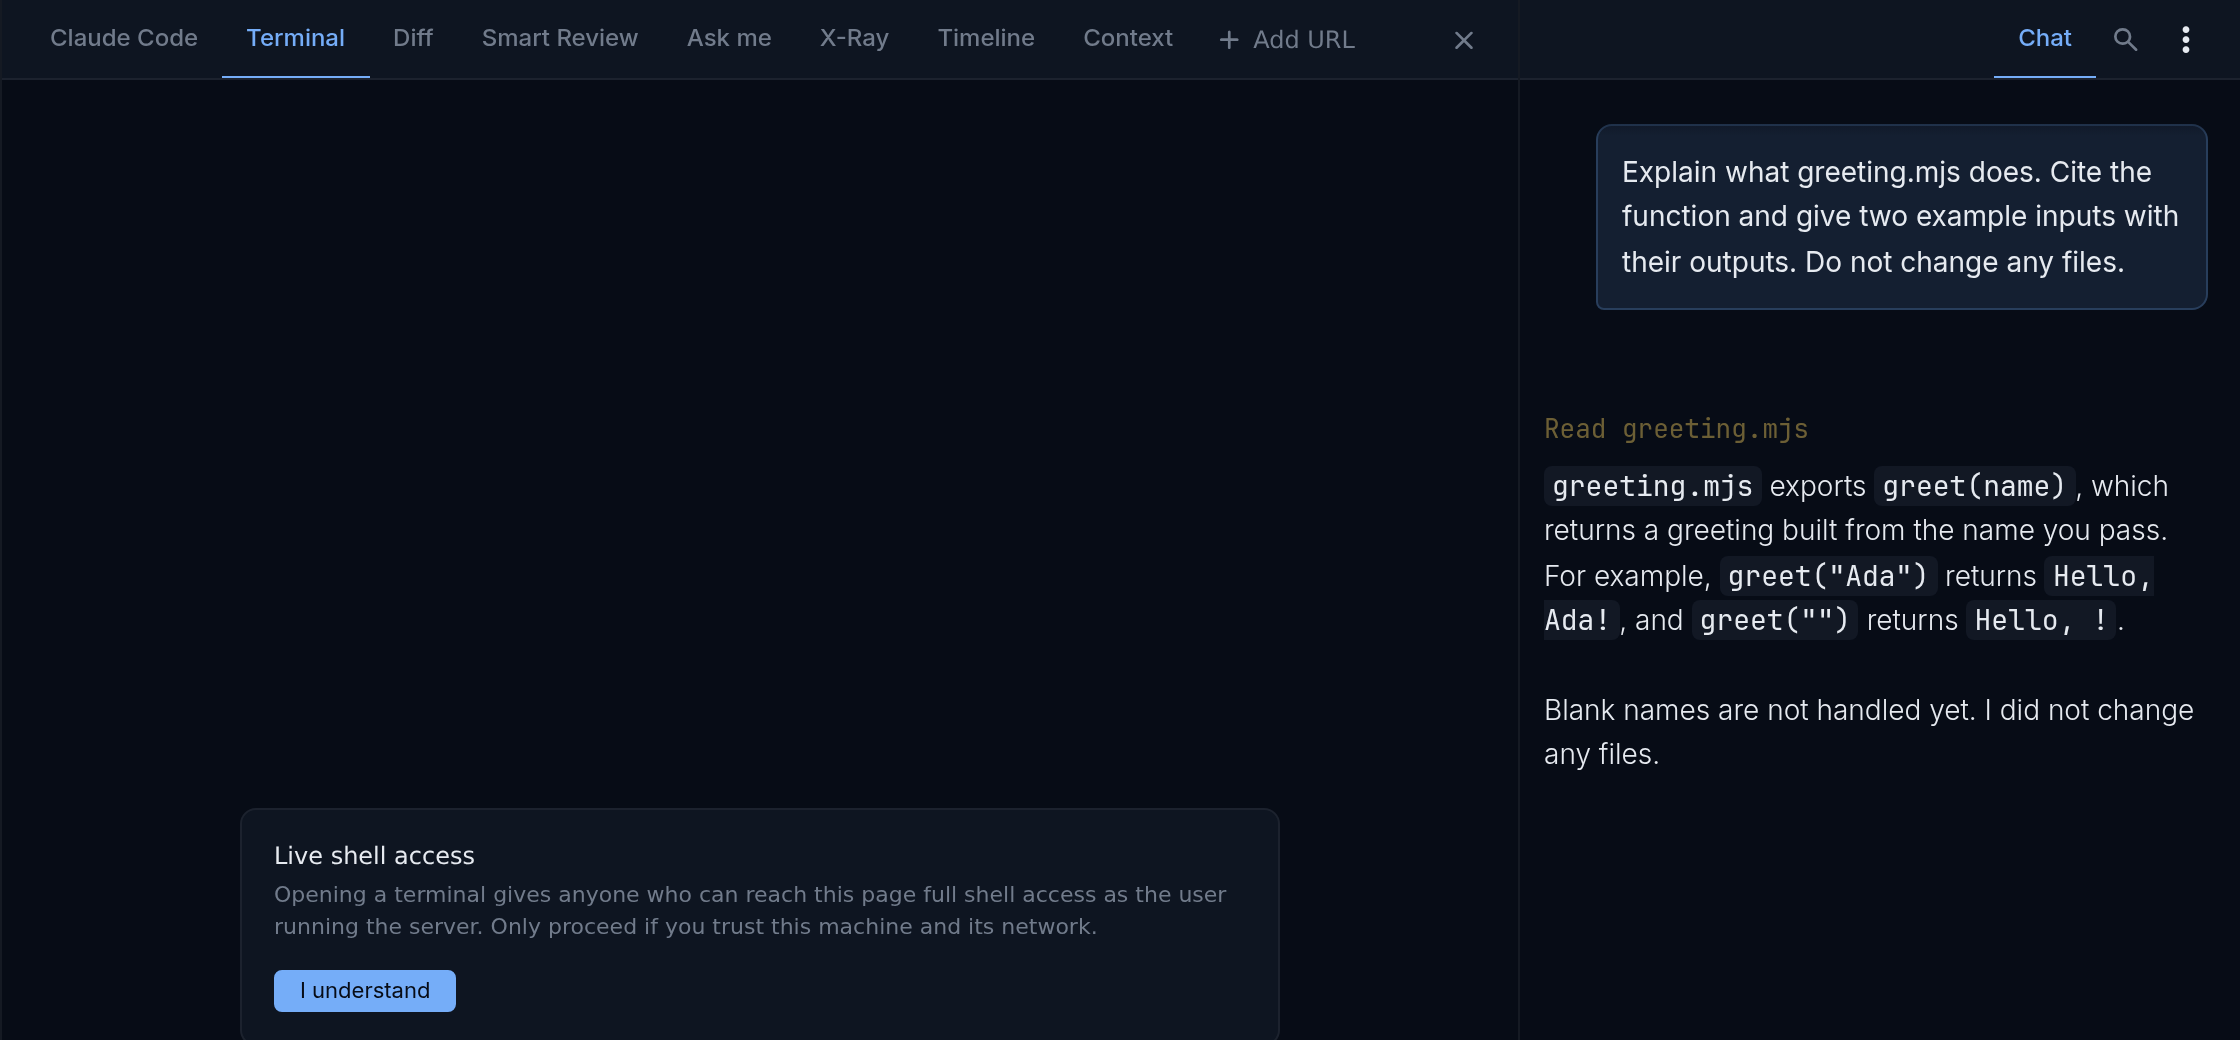
The Terminal tab the first time you open it. Sample session. -
Run these commands to download
greeting.mjs, commit it, and check it:Terminal window curl -fsSL https://firehose-docs.web.app/examples/hello-firehose/greeting.mjs -o greeting.mjsgit add greeting.mjsgit commit -m "Add greeting example"node --input-type=module -e "import { greet } from './greeting.mjs'; console.log(greet(' Ada '));"
Expected result: the last command prints Hello, Ada!. The file contains:
export function greet(name) { return `Hello, ${name.trim()}!`;}If curl is not available, create greeting.mjs in the project folder with that content, then run the last three commands. For other ways to place files, see Put files in the right workspace. Keep this baseline committed so later changes are easy to identify.
Select Chat at the right end of the tab row to return to the conversation.
4. Give it a clear request
Section titled “4. Give it a clear request”Type this in the message box at the bottom of the session and press Enter, or select the round arrow button at its right. For your own repository, replace the filename and question with a small example you can verify:
Read greeting.mjs and explain what greet does.Show the result for " Ada " and for an empty string.Do not change files or run installation commands.Point to the code that explains each result.Follow the response in the session’s conversation above the message box. If the agent asks for information, answer in the same session.
5. Check the answer
Section titled “5. Check the answer”The function trims spaces from the name and adds a greeting:
| Input | Expected result |
|---|---|
" Ada " | "Hello, Ada!" |
"" | "Hello, !" |
The agent may phrase its explanation differently. Check its answer against greeting.mjs.
Select the Diff tab at the top of the session, then Changes. Select Diff filters, the ⋮ button next to the search icon, and under Compare choose Working changes to check for uncommitted edits. With a clean starting repository, you should see none. If you already had edits, compare with that starting state instead of attributing them all to this session.
You’ve started a session, sent a request, and checked its result. Next, ask for a small improvement using the same project.